Use Stripe CLI with Laravel Herd or Valet or nginx.

However, the Stripe CLI doesn't immediately work with Laravel Herd, a blazing fast, native Laravel and PHP development environment for macOS, which includes PHP, nginx, dnsmasq, and Node.js. This trick also applies for laravel valet, or local site configured with nginx.
Ensure stripe cli installed in your local. Stripe CLI Installation guide
1. Update your /etc/hosts file
To make the Stripe CLI work with Laravel Valet, make a change to your hosts file (/etc/hosts). You can edit it with Nano-editor using:
sudo nano /etc/hosts
Add the following rule to your /etc/hosts file, replacing `mysite.test` with your domain:
127.0.0.1 mysite
Save the file.
2. Flush the DNS cache
Flush the DNS cache to ensure the changes take effect:
sudo dscacheutil -flushcache; sudo killall -HUP mDNSResponder
You might also need to clear your browser cache/cookies.
3. Use Stripe CLI with Laravel Herd/Valet/Localhost 🚀
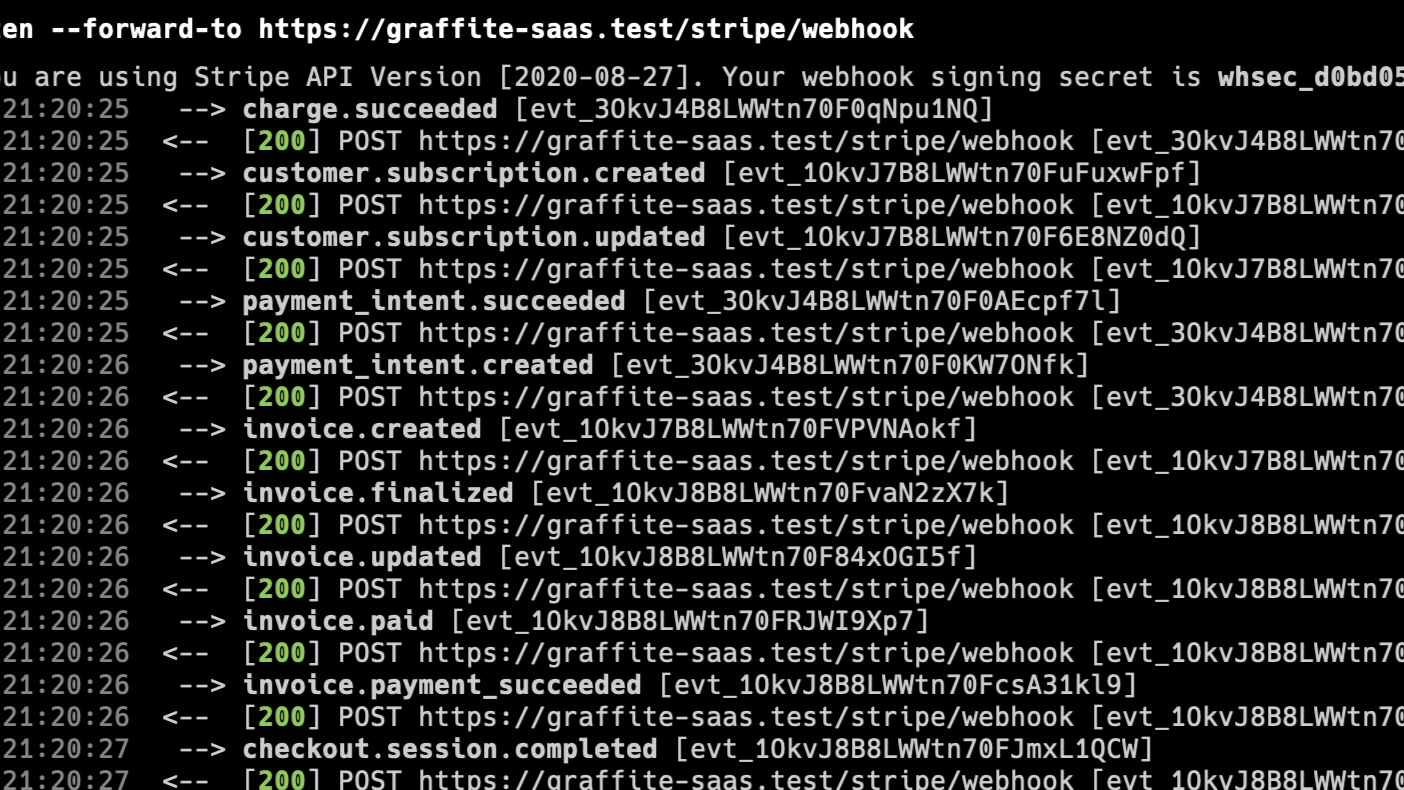
Now you can use the Stripe CLI with Laravel Valet. For example, if you're using Laravel Cashier with Stripe, you can forward webhooks to your local application with:
stripe listen --forward-to https://mysite.test/stripe/webhook
Wrapping up
Give it a try and let me know how it goes!
Related PostsView all posts


Comments (1)
Jan
9 months ago
Hello Rezaul, you are a live saver!!! Works like a charm. Thank You!